Showing posts with label digis. Show all posts

Saturday, August 13, 2022

Filigree Christmas Tree

 Hello everyone!! I wanted to share another Christmas card using Power Poppy digi today.


I printed the digi in gray and colored it with Copic markers. Even though it did seem a bit intimidating at first, I have to say, I thoroughly enjoyed coloring it. I die cut the panel with a stitched rectangle die from Divinity Designs and gold embossed the sentiment from Divinity Designs - Christmas Mini stamp set. I matted the panel with green card stock. I had to take another pic at an angle to show the gold embossing.

Have you started making your Christmas cards for this year yet? Do let me know in the comments. Thank you for stopping by today. Have a great day!!

Submitting this to:

Power Poppy - Blossom Challenge

Monday, July 25, 2022

Christmas Cardinal

 Hello everyone!! It's July already and I haven't shared any Christmas cards yet! Here's my first one for the year.


I used the Power Poppy - Season of Serenity digital image for this card and tried to color the bird as a cardinal. I will try it as Blue Jay for another card :) The die cut is from Spellbinders - Filigree Delight. For the sentiment, I gold embossed the "Merry Christmas" from Divinity Designs - Christmas Mini set.

How do you like my card today? Do let me know in the comments. Thank you for stopping by. Have a great day!

Submitting this to:

Friday, May 20, 2022

Hyacinth

 Hello everyone!! I'm back with another floral card today, this time with Power Poppy Hyacinth in a Glass image.

I had printed this image on a white card stock with light grey colors for no-line coloring. I colored it with Copics. I enjoyed coloring it. Marcella's images have a lot of  details to it, it makes it so much easier to figure out how to color it. In case you didn't know, Power Poppy blog is back with challenges! 

What do you think about this card? Please do let me know in the comments below. Thank you for stopping by. Have a great day!

Submitting this to:

Friday, November 10, 2017

Joy!

Hello everyone! Today I have a card with one of the latest digital stamps by Joanna. 

I printed the Christmas Wreath digital stamp and colored the image with Copic markers (G99, YG67, YG63 and YG61 for green and R59, R29, R35 and R32 for the red). I adhered 1/8" ScorTape on the left and right edges of the A2 card base and added red foil on it. Then I adhered the image panel on to it with glue. This is a clean and simple Christmas card. I think the foil adds to the festive feel.


Thanks for stopping by today. Hope you have a great day!

Submitting this to:


Friday, November 3, 2017

Floral Kindness

Hello everyone! I'm here to share a card that I have made with one of the Inspired By Stamping Digital images.


 For today's card I've used the Floral Kindness Digital Stamp.  I printed it out and cut it out in to a panel of size 4.25" x 5.5" and colored it with Copic markers.


I began by coloring the leaves using G99, YG67, YG63 and YG61.


Then I colored the big flowers in pink. I used RV14, RV13 and RV21 for the pink and Y38, Y35 and YR31 for the yellow in the flower center.


Next I colored in the yellow flowers using Y38, Y35 and YR31.


I colored the tiny flower in violet using V15, V12 and BV00 . I used Y38, Y35 and YR31 for the butterfly. I also added a dot of brown on the center of the yellow flowers. The coloring part is done. Then I cut the panel in to 3.75" x 5". If you had noticed, I had a small ink smear on the lower part of the panel. I used Tombow eraser to remove it. I adhered this panel on to a kraft card stock of size 4.25" x 5.5" using Brutus Monroe glue. I adhered it on to a top folding A2 card base.


Thank you for stopping by. Hope you have a great day.

Submitting this to:


Saturday, October 14, 2017

Sunflowers For Someone Special

Hello everyone! How are you doing today? Hope your week was good. I'm here with a quick and simple card using the new freebie in today's Inspired By Stamping newsletter.


I printed the image and colored it with Copics. I used Y38, Y35, YR31 for the sunflowers and center of daisies, E59, E57, E53 and E31 for the center of the sunflower, V15, V12 and BV00 for the tiny daisies, G99, YG67, YG63, YG61 and YG03 for the leaves. I'm trying to use some techniques from this past Kit and Clowder monthly class (tulips). In case you have not heard of her, Alyce is a wonderful person and her classes are fabulous, so is her coloring. Do check her website and if you decide to purchase any classes from her, please do let her know that I sent you. 
I cut the panel into 3.75" x 5" and wrapped some brown twine and added a bow. I colored the edges of the card base with E57 and adhered the image panel on to it using Brutus Monroe Glue. Here's another look at the card.


In case you have not signed up yet, please do sign up to the Inspired By Stamping newsletter. You don't want to miss out on all these beautiful freebies. The newsletter is packed with inspiration!!

Thank you for stopping by. Hope you have a great weekend.


Saturday, September 30, 2017

Fall Pumpkins

Hello everyone! It's time for a new Inspired By Stamping newsletter and that means there's a new freebie today :) I'm here to share a card that I made with the freebie.


I printed out the light gray version of the freebie on my cardstock and cut out the panel. In case you are wondering on how to print or edit a digi, please check my tutorial here. I colored the image with my alcohol markers, using Copics YR68, Y38, Y35, YR31 for the orange, YG67, YG63, YG61 and YG03 for the green, E59, E57, E53 for the pumpkin stalk and Chameleon marker BR4 for the brown leaves. After coloring, I inked up the panel with Distress ink Spiced marmalade on the top and right and Crushed Olives on the left and bottom. 

How do you like this card? Do let me know in the comments. If you like this image and would like to subscribe to the Inspired By Stamping newsletter, please go to the Inspired By Stamping site and click on the NEWSLETTER tab.

Thank you for stopping by. Hope you have a great weekend.

Saturday, September 16, 2017

Fall Thank You

Hello everyone! I'm here to share a Fall themed card that I made with the freebie from today's Inspired By Stamping newsletter.


I printed the freebie on watercolor card stock (here's a tutorial on how to use digital images for making cards). I colored it by using Distress Inks as watercolors. I used Wild Honey, Crushed Olive, Vintage Photo and Ripe Persimmon. I was a bit scared with this and I made a lot of mistakes, but in the end I was okay with the result. I added the veins with Vintage photo and it looked very odd. So I muted it down by adding more yellow. The thing with Fall leaves is you don't have to color them in a specific way ;) I used a different sentiment than the one in the freebie. I decided to make it a Thank You card. I used the "thank you" stamp from the Inspired By Stamping Sun-Ripened Pear stamp set and stamped it on the water color card stock. I used the same colors of distress inks to color the sentiment panel. I matted everything with brown colored card stock and adhered on to the card base.


I guess that's the beauty of watercolors - it doesn't have to be perfect. Hope this inspires you to try out this new freebie. In case you have not yet signed up, please do so by going to the Inspired By Stamping website. Joanna sends out an inspiration packed newsletter every other week and there's a new lovely freebie with each one. The older freebies are now available for purchase as digital stamps.
Just to remind you, I have a 15% off coupon to Inspired By Stamping  that can be used multiple times. Not valid on previous purchases or sale items.


Thanks everyone, for stopping by. Hope you all have a great weekend.

Submitting this to:

Tuesday, September 12, 2017

Digital Stamps Basics

Hello everyone! Today's post does note have a card. It's a short tutorial on how to use digital stamps for making cards. I recently saw a few posts on Facebook where people wanted to know how to print and use digital stamps. I use Microsoft PowerPoint to print out my digis - you can also use Microsoft Word, Google docs or Google Slides which are very similar.

I used to be very intimidated with digis, because I didn't know how to size them to exactly the way I need. Now, I love using digital stamps because of a lot of reasons!! I hope this tutorial helps you in using digital stamps.

Let's start with the digis. When we buy a digital stamp, it is usually sent as a zip (compressed) file. A zip file is nothing but a file or a collection of files and folders which are compressed in size. A compressed file is faster to download because of it's small file size. So our first step is to extract the image files from the zip file. To do this, right click on the zip file and choose Extract All...


This will open a small pop-up window which shows the location of the folder where the extracted files will be placed. 

 Now, click on the Extract button. All the files from the zip (compressed) file will be copied to the folder mentioned. 

Now comes the important part - printing a digital image to fit in my card.

Like I said, I use Microsoft PowerPoint. I open a blank presentation and delete everything already present on the slide.

I start by sizing the slide to the size of my card stock on which I'm going to take my printout. I normally use 8.5" x 11" card stock which makes 4 A2 (4.25"x 5.5") card panels. Click on "Design" menu --> "Slide Size" ----> Custom Slide Size


This will open a small pop-up window with the size and orientation of the slide. Since I use 8.5" x 11" card stock, I entered the respective values. The orientations can be landscape or portrait.


Now, to give me an idea of the size of my card, I insert a rectangle to represent my card panel. To insert a rectangle, click on Insert menu --> Shapes --> rectangle image


Draw a rectangle of any size. Now since I make A2 cards (4.25" x 5.5"), I want the rectangle to be of that size. If you make a different card size, you can change the size of the rectangle according to your measurements. To change the size of the rectangle, select the rectangle and click on Format menu. On the top right end, you will see the size of the rectangle with height and width in inches. Enter the measurement.


Next, I just want a rectangle border not a blue rectangle. So to change that click on Format --> Shape Fill --> No Fill


Now I have a rectangular border that represents the front of my card. Now like I said, I can make 4 A2 card panels with 1 A4 card stock. I move this rectangle to the top left corner of the slide. Then I copy the rectangle and place the second one like shown in the pic.


Now I have 4 card panels in here. I can insert any images I want. To insert an image, click on Insert menu --> Pictures. It will open a pop-up window with the file location. You can select you image from it and click on Open.


Once you have placed the image, you can resize it as you like. With the rectangle, you can see the relative size of the image with the card panel.

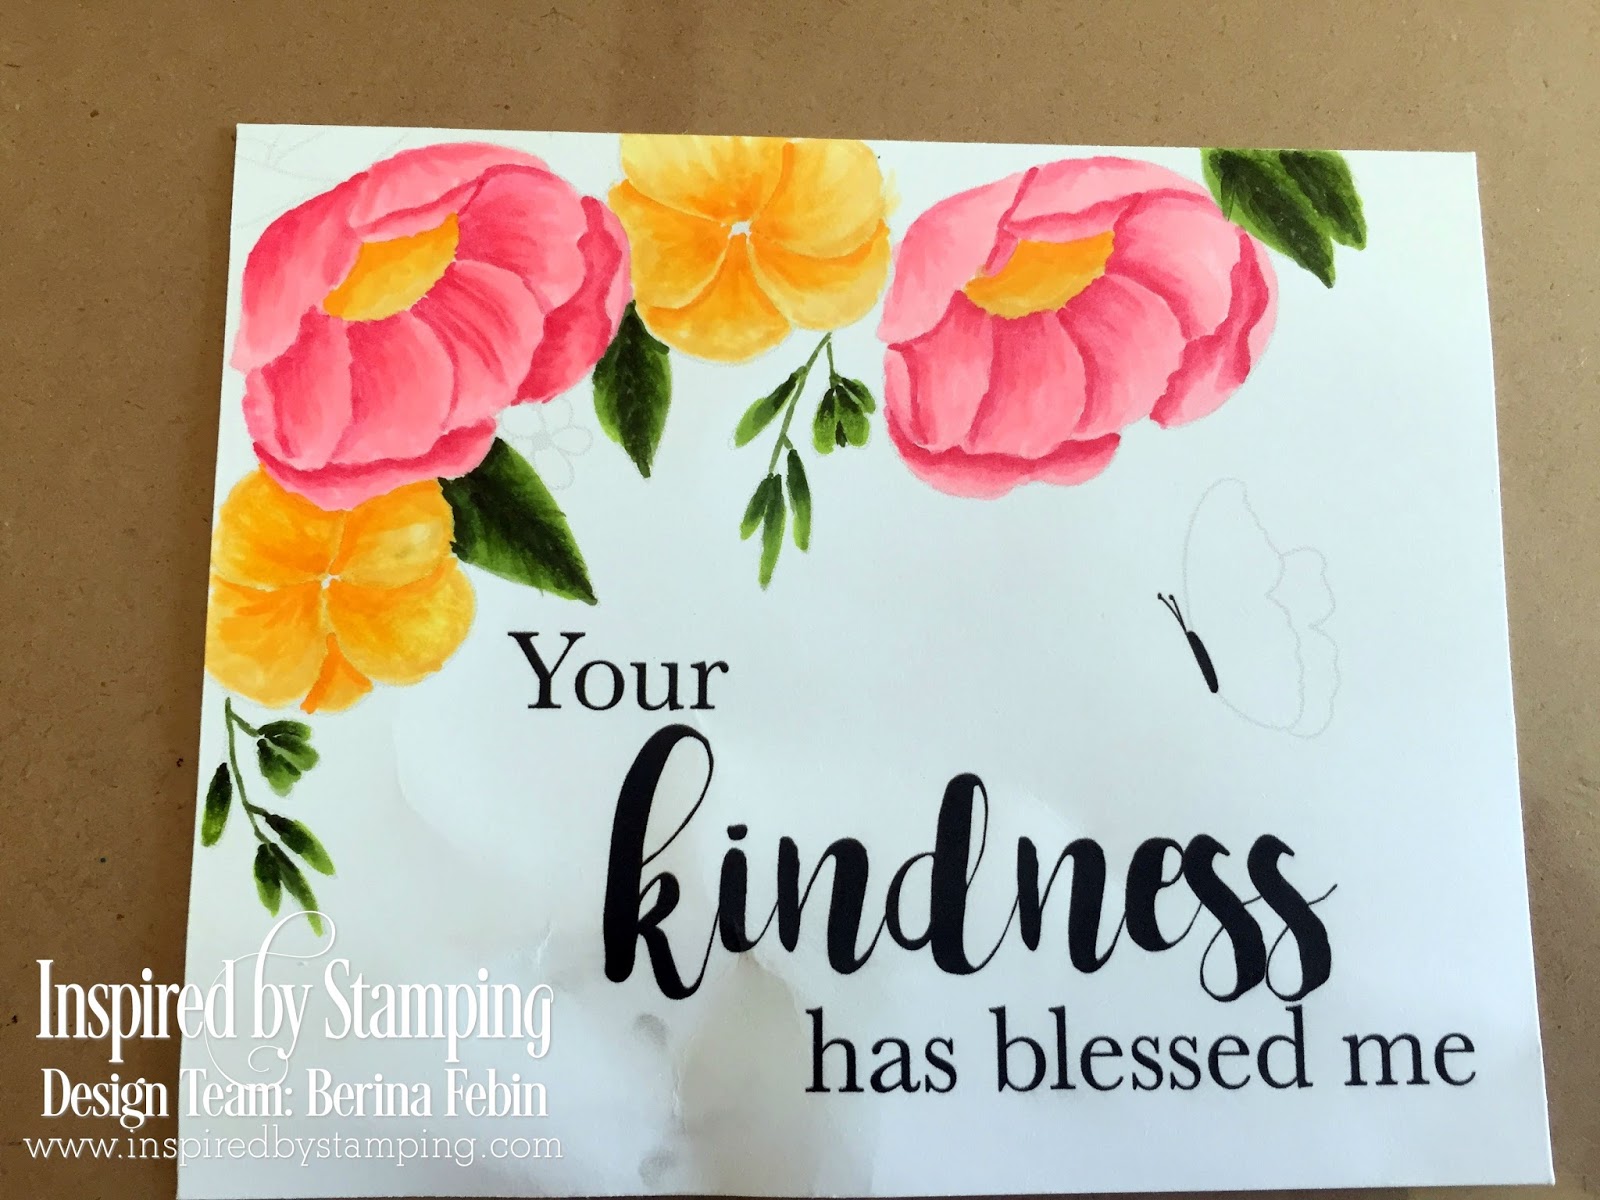
I like to do no-line coloring. Some companies offer the light grey lined version of the digital image for no-line coloring, some don't. To get a light grey version, select your image, click on Format --> Color and on the Recolor option, select the 4th option (washout). I hope the pic below shows it in more detail.


Before hitting print, it is always better to get a preview of how your printed sheet will be. To see the Print Preview, click on the File menu --> Print. This shows exactly how it'll be printed. Many printers have a default margin which cannot be removed. Mine does, so I don't place my images very close to the edge. Once you are satisfied with the placement, you can go back and remove the rectangles.


Once you are ready, hit the print button. You can use your paper trimmer to cut out the card panels and enjoy coloring!!

If you found this tutorial useful, please let me know. Hopefully this covers all the basic stuff. If you need any help with the sizing or placement of the digital images, please let me know in the comments below. I will try my best to address them.

Thanks for stopping by. I hope you have a great day!
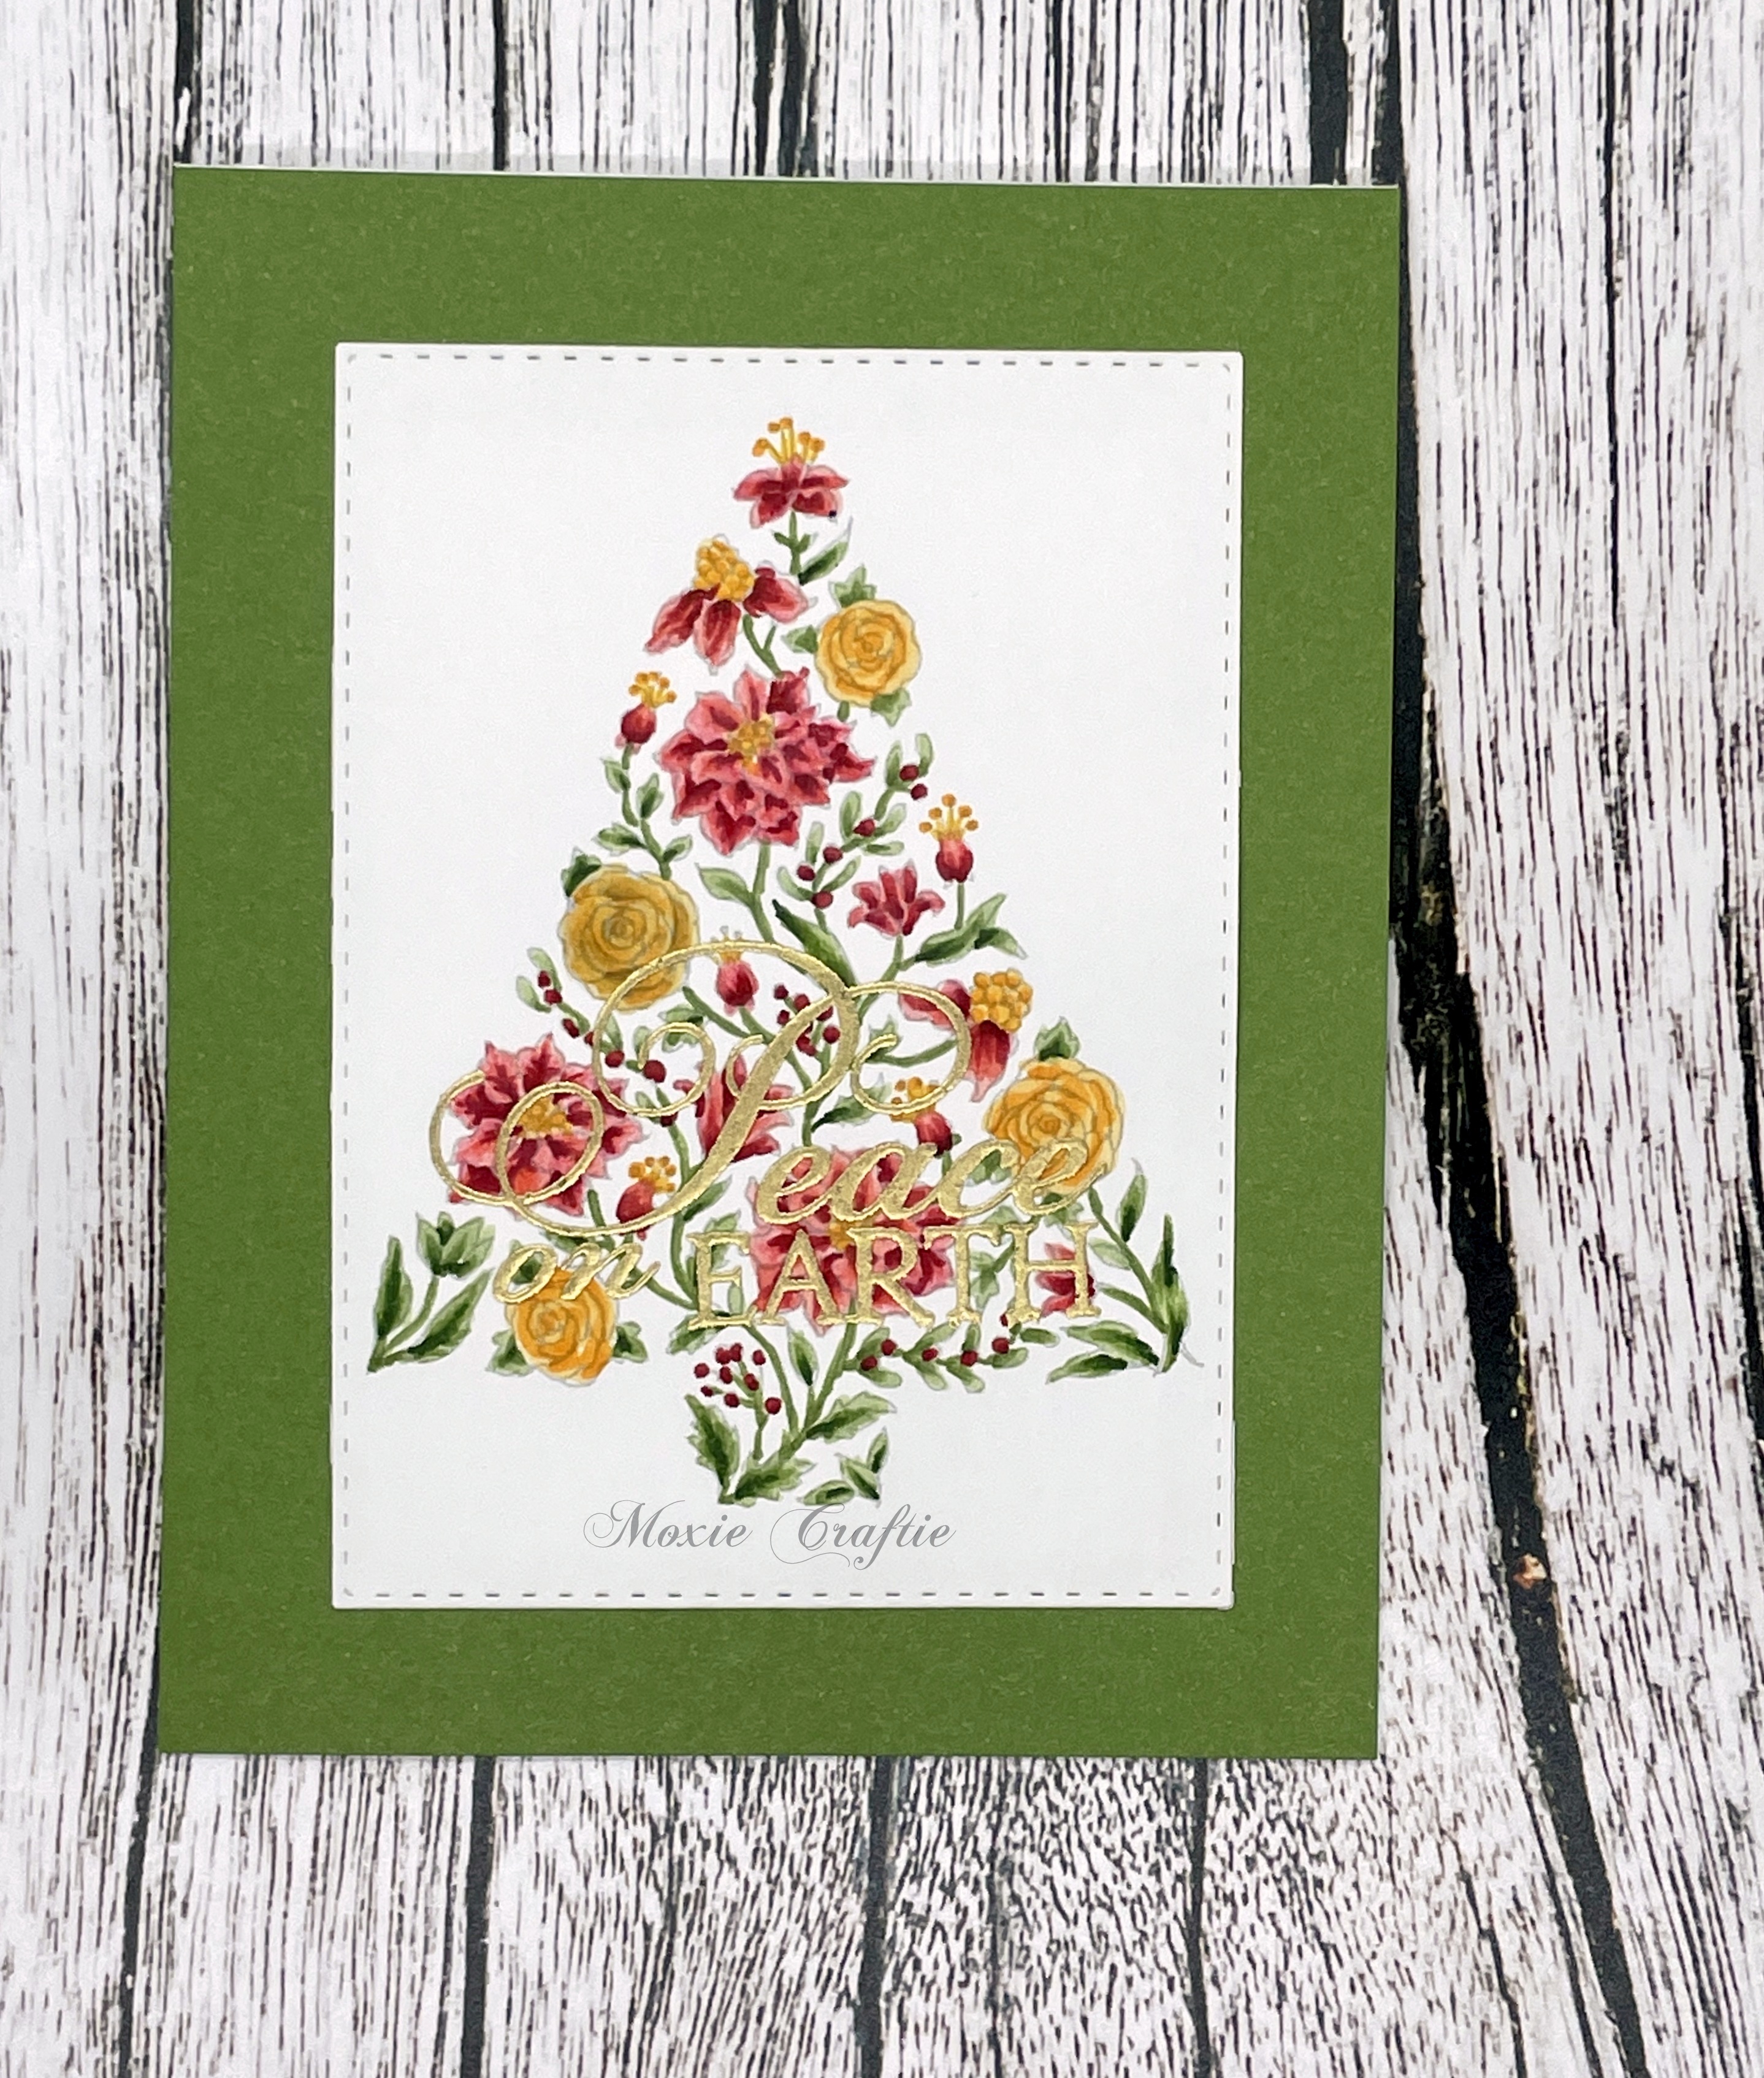
Saturday, September 2, 2017

Birthday Daisies

Hello everyone!! I'm here to share a card made with another freebie from the Inspired By Stamping newsletter that was sent today morning. 


I printed out the light grey version of the freebie (which is included in the download) and trimmed it to 4.25" x 5.5". I colored the image with Copic markers. I used V09, V17, V15 and V12 for the daisies, Y38, Y35, YR31 for the butterfly, YG67, YG63, YG61 and YG03 for the stem and C3, C1 and 0 for the mason jar. I then trimmed the panel to 4" x 5.5" and adhered it to a violet card panel of size 4.24" x 5.5" and added it to the card base. Then I added few Nuvo drops in color English Mustard to the flower center and Violet Galaxy around the sentiment.


 Do you like this freebie? If you have not subscribed to the newsletter yet, please do. Joanna shares beautiful freebies like this one in the newsletter and it's packed with lots of inspiration you don't want to miss. To subscribe, go to Inspired By Stamping site and click on NEWSLETTER. Sign up with your email address and then you will be receiving all the beautiful freebies and the wonderful inspiration in your inbox every other Saturday. Joanna has also shared a 15% off coupon that can be used multiple times. It is not valid on previous purchases and on sale items.


Thanks for stopping by. I appreciate all your loving comments. 

Submitting this to:


Friday, September 1, 2017

Sweeten with Gratitude

Hello everyone!! It's time for my inspiration post at Inspired By Stamping. For this month, I decided to use one of the freebies from the Inspired By Stamping newsletter.


Warning: This is a picture heavy post!!

I took a printout of the card front freebie from Inspired By Stamping and trimmed it to 4.25" x 5.5". I colored the image with Copics. I'm sharing a few tips on how I colored the lemons and the leaves.


For the lemons, I used the colors Y38, Y35, YR31. In this picture, I've marked the areas where I think the lightest color and the darkest color will be. Hope this will help in understanding.


For the leaves, I used my usual set of markers - G99, YG67, YG63, YG61 and YG03.


For the leaves, I start by drawing the veins with the lightest color. I like the veins to be in the lightest color. So I use YG61 to draw the veins on the leaves.


The vein divides the leaf into small segments. Next, I take the darkest color (G99 in my case) and kind of outline the segments (except the outer side of the leaf) leaving the veins. I hope this picture makes it clear and easy to understand.


Then I take the second darkest color (YG67 in my case) and extend the coloring done with my darkest color (G99) and blending it out. The veins still remain in the lightest color.


Then I take my next color (YG63 in my case) and extend and blend the coloring in each segment of the leaf. I use this color to fill any space left out in each segment.


Now, I take my lightest (YG61 in this case) and go over the entire leaf, trying to create a blended look with the veins. Notice the difference in the veins, between the previous and the next pic


I like to add a coat of YG03 over the entire leaf as it gives a more yellowish green look the YG 60's. This also allows the veins to blend in a little bit more.


Here's the fully colored image. This may not be very realistic or the perfect blending. I have a limited collection of copics and used the colors I had. I'm trying different looks for leaves and seem to like this better so far (with the veins in lighter color than the rest of the leaf). It's really up to you.


I trimmed the panel to 4" x 5.5". I colored a thin strip of white cardstock with Y38 and adhered it on the left of the top folding A2 card base. I also adhered a thin strip of black cardstock next to it.


I added a few drops of Tonic Nuvo drops in color English Mustard around the sentiment.

Here's another look at the finished card.


How do you like this card? In case you have not subscribed to the Inspired By Stamping newsletter, I would highly recommend you to do so by clicking here and click on NEWSLETTER. Joanna sends out a newsletter every other week and each week there's a gorgeous freebie to color. The download link expires after 4 weeks. Also, Joanna has offered a 15% off coupon, which can be used multiple times, not valid on previous purchases and sale items. The coupon is valid till Dec 31, 2017.


Thursday, August 24, 2017

Kindness

Hello everyone! I'm here to share a card that I made with the most recent freebie from the Inspired By Stamping newsletter.


Joanna has included a light version of this freebie specifically for no-line coloring. I took a printout of that and colored it with copics, using YR68, Y38, Y35 for the orange and yellow, V09, V17, V15 and V12 for the violets and G99, YG67, YG63, YG61 and YG03 for the greens.


I trimmed this panel to 4" x 5.25" and matted it with a dark violet card stock of size 4.25" x 5.5". Then I adhered it to white A2 card base. I added a few Tonic Nuvo drops in colors Violet galaxy, English mustard and added Dark Walnut for the center of the yellow flowers.

This was a quick and easy card. These digital card fronts are so convenient. You just have to print them out and color it. In case you have not yet subscribed to the Inspired By Stamping newsletter, please do so by clicking here. Also, Joanna has offered a 15% off coupon which can be used multiple times. It's not valid on previous purchases and on sale items.


Thanks for stopping by. Enjoy the rest of your day.

Submitting this to: