Showing posts with label wedding. Show all posts

Tuesday, September 21, 2021

Special Day Lace

 Hello everyone!! I'm on the Craftwell blog today with this beautiful and elegant wedding card.


If you've followed me for some time now, you'd probably know that I'm a big fan of Amazing Paper Grace dies. I bought this die a while back and never got to use it. I die cut it on Navy card stock and put it on top of white card stock. I tied a bow with silver glitter tulle for some elegance. I stamped the sentiment - it's from an old Just Rite stamp set, with navy ink on white card stock, cut it out and matted with navy card stock. 

How do you like this quick and simple card? Do let me know in the comments. Thanks for stopping by. Have a great day!!

Tuesday, January 14, 2020

Wedding Congratulations

Hello everyone!! I'm on the Craftwell blog today, with a Congratulations card, that I made for a friend's wedding.


I started with a 5" x 7" ivory card base. I die cut the Double Heart Gatefold die on brown card stock twice. I then die cut a heart out of the same brown card stock and used it as a base for the wreath. I die cut the leaves using the dies from the Karen Burniston - Pop-up Flower pot die and the flowers from the Sizzix Small Tattered Florals die. I adhered the leaves and flowers and a few pearls along the edge of the heart die cut. I arranged everything on the ivory card base and adhered them. For the sentiment, I heat embossed the sentiment from the Brutus Monroe - Sharon's Script stamp set with Gilded Embossing powder on ivory card stock and adhered it down after curving it a little. 

How do you like my card today? Please do let me know in the comments below. Thank you for stopping by. Have a great day!!

Tuesday, June 18, 2019

Special Day

Hello everyone!! Today is blog hop day at Brutus Monroe and we are using our newest awesome release!! Here's 2 of my favorite stamp sets:


I started by embossing this gorgeous dress from the Special Day stamp set with Gilded embossing powder. I inked it with Stargazer ink. How gorgeous is this color combo!! Then I fussy cut it and adhered it on to a card base. I also heat embossed the hanging stars from the String Lights stamp set and the sentiment from the Special Day stamp set with Gilded embossing powder.

What do you think of this card? Please do let me know. Here's the hop order for today:

Luisana
Lauren
Marie
Berina
Cassie
Daniel
Jess

Thank you for stopping by. Have a great day!!

Supplies:
Affiliate links are used
String Lights 6x8 Stamp

BM
Special Day 3x4 Stamp

BM
Mini Surface Ink Pad Collection: Pastel

BM
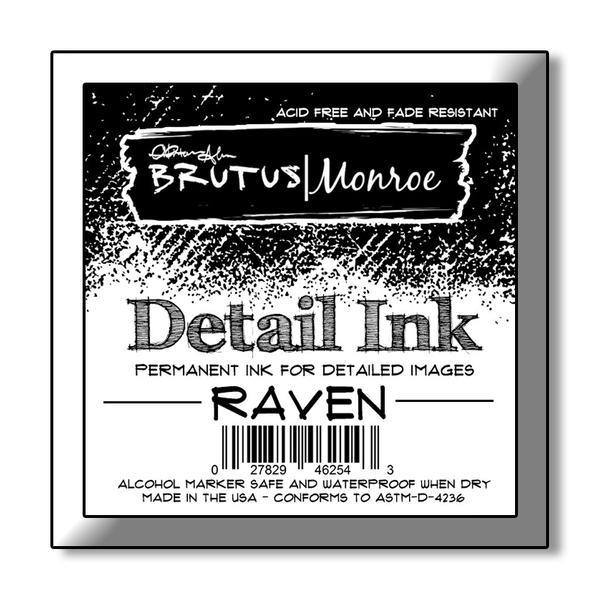
Raven Detail Ink
Raven Detail Ink

BM
Metallic Embossing Powder - Gilded

BM
Not Your Mama's Cardstock - Heavyweight

BM
Alabaster 110lb - Premium Cardstock

BM
Card Stock
Card Stock

BM
Glue
Glue

BM
Squeaky Clean Stamp Cleaner

BM
Squeaky Clean Stamp Scrubber

BM
Acrylic Block
Acrylic Block

BM
Embossing Heat Tool
Embossing Heat Tool

BM
Clear T Square
Clear T Square

BM
Fold and Score Tool
Fold and Score Tool

BM
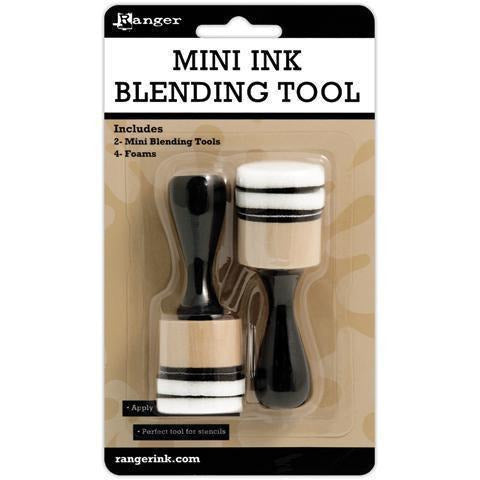
Mini Ink Blending Tool Kit

BM
Mini Ink Blending Tool Replacement Foams - 20 Pieces

BM
3D White Foam Squares • 1/2 in

BM | TW
Thermoweb - Purple Tape

BM | TW
Sticky Tape Mini Runner™

BM | TW
Brutus Monroe - Foam Tape - 36 Yards - 108 Feet

BM
Fussy Cutting Scissors

BM


Saturday, February 13, 2016

On Your Wedding

Hello everyone!! I made a card today that I w anted to share with you all.


This card was inspired by a wreath I made for a wedding. I don't have a picture to share with you all. I used stocking flowers (something like these) and leaves for one side of the heart and for the other half, I used golden strings. I drew a rough outline of a heart with a pencil. To start with, I wanted the banner to be on the front, so I gold embossed the banner from Winnie & Walter - The Big, the Bold and the Extras first. I took the words 'on your wedding' from the same set and assembled tham so that it would fit into the banner (I had to bend the 'wedding' to match the curves of the banner - you can see this post where I did the same)Then I stamped the small Azalea flowers from the Power Poppy - Azaleas stamp set repeatedly on one half of the heart and gold embossed it. The other half of the heart, I traced with versamark pen and gold embossed it.


I used distress ink ripe persimmon to watercolor on the flowers. This is not a watercolor paper. I used Georgia Pacific 110 lb paper from Walmart. But it did good for watercoloring. I took care not to use too much water and used only little for blending. The paper didn't warp. For the leaves I used distress inks crushed olives and squeezed lemonade. For the banner I used Tsukineko VersaMagic chalk ink - sea breeze.

So what do you think of this card?
Thanks for stopping by. Do tell me your thoughts!!

Submitting this to:

Thursday, February 4, 2016

On Your Wedding

Hello everyone!! I'm here to share a card that I made today. Many of you might know Winnie & Walter Stamps. They are celebrating their 2nd Birthday (belated) Bash this month. Winnie & Walter stamps is one of the first few stamp companies that I knew and I've been following them almost from the beginning. I'm happy to take part in their celebration by making a few cards (hopefully!!).

Here's what I made today inspired by Taheerah's inspiration pic:


I used the Mini Scenery: Do You See What I See? stamp for the background and gold embossed it on black cardstock. I gold embossed a few roses from The Big, the Bold and Extras and water colored them. For the flowers, I used Distress Ink Tattered rose (I smushed the ink pad on my acrylic block and picked it up with my brush) and for the leaves I used Yasutomo Pearlescent Watercolor - it has a light shimmer to it. I mounted the flowers and leaves on foam tape to give some dimension.


I gold embossed the wavy banner from The Big, the Bold and Extras on a piece of black card stock. I assembled the sentiments and gold embossed it inside the banner. I had to bend the 'wedding' to go with the curve of the banner. Check this video from Kristina Werner where she shows how to bend the stamp. I used the same technique. I used foam tape on the banner to give it a dimensional look.


I'm happy with this card. What do you think?

And here's wishing Winnie & Walter many more successful years to come!!

Thanks for stopping by. Please leave your comments and suggestions.

Submitting this to:


Sunday, January 31, 2016

Romantic Wedding Window

Hello everyone!! It's time for a new challenge here at the Unstampabelles. Our new theme is 'Looking forward, looking backward' with a twist of adding a window or mirror. Here's what I've made to inspire you:


I used the Romantic Window Silhoutte by Heather M. I cut it with my Cricut and colored with markers. The tiny flowers on the top of window are layered.


The swirly die cut is an svg from Bird's cards. I added a few pearls on the flowers and on the swirly die cut.

Susan is offering 2 beautiful dies for the winner this month.


Hope you are inspired to join in the challenge this month. Can't wait to see what you create for the challenge.

Thanks for stopping by. Please let me know your thoughts and comments.

Submitting this to:

Wednesday, January 30, 2013

Garnet Beauty!!

We had bought this garnet strand long back when we had gone to Hyderabad. I thought of making this into a  necklace. So here it is!