Showing posts with label handmade embellishments. Show all posts

Monday, September 5, 2022

Framed Coreopsis

 Hello everyone!! I'm sharing this card on the Craftwell blog today.


I have used Susan's garden dies to make these flowers.  I have more details on the Craftwell blog here. Do visit my post there and let me know what you think of my card.

Thank you for stopping by. Have a great day.

Wednesday, May 11, 2022

Calla Lilies

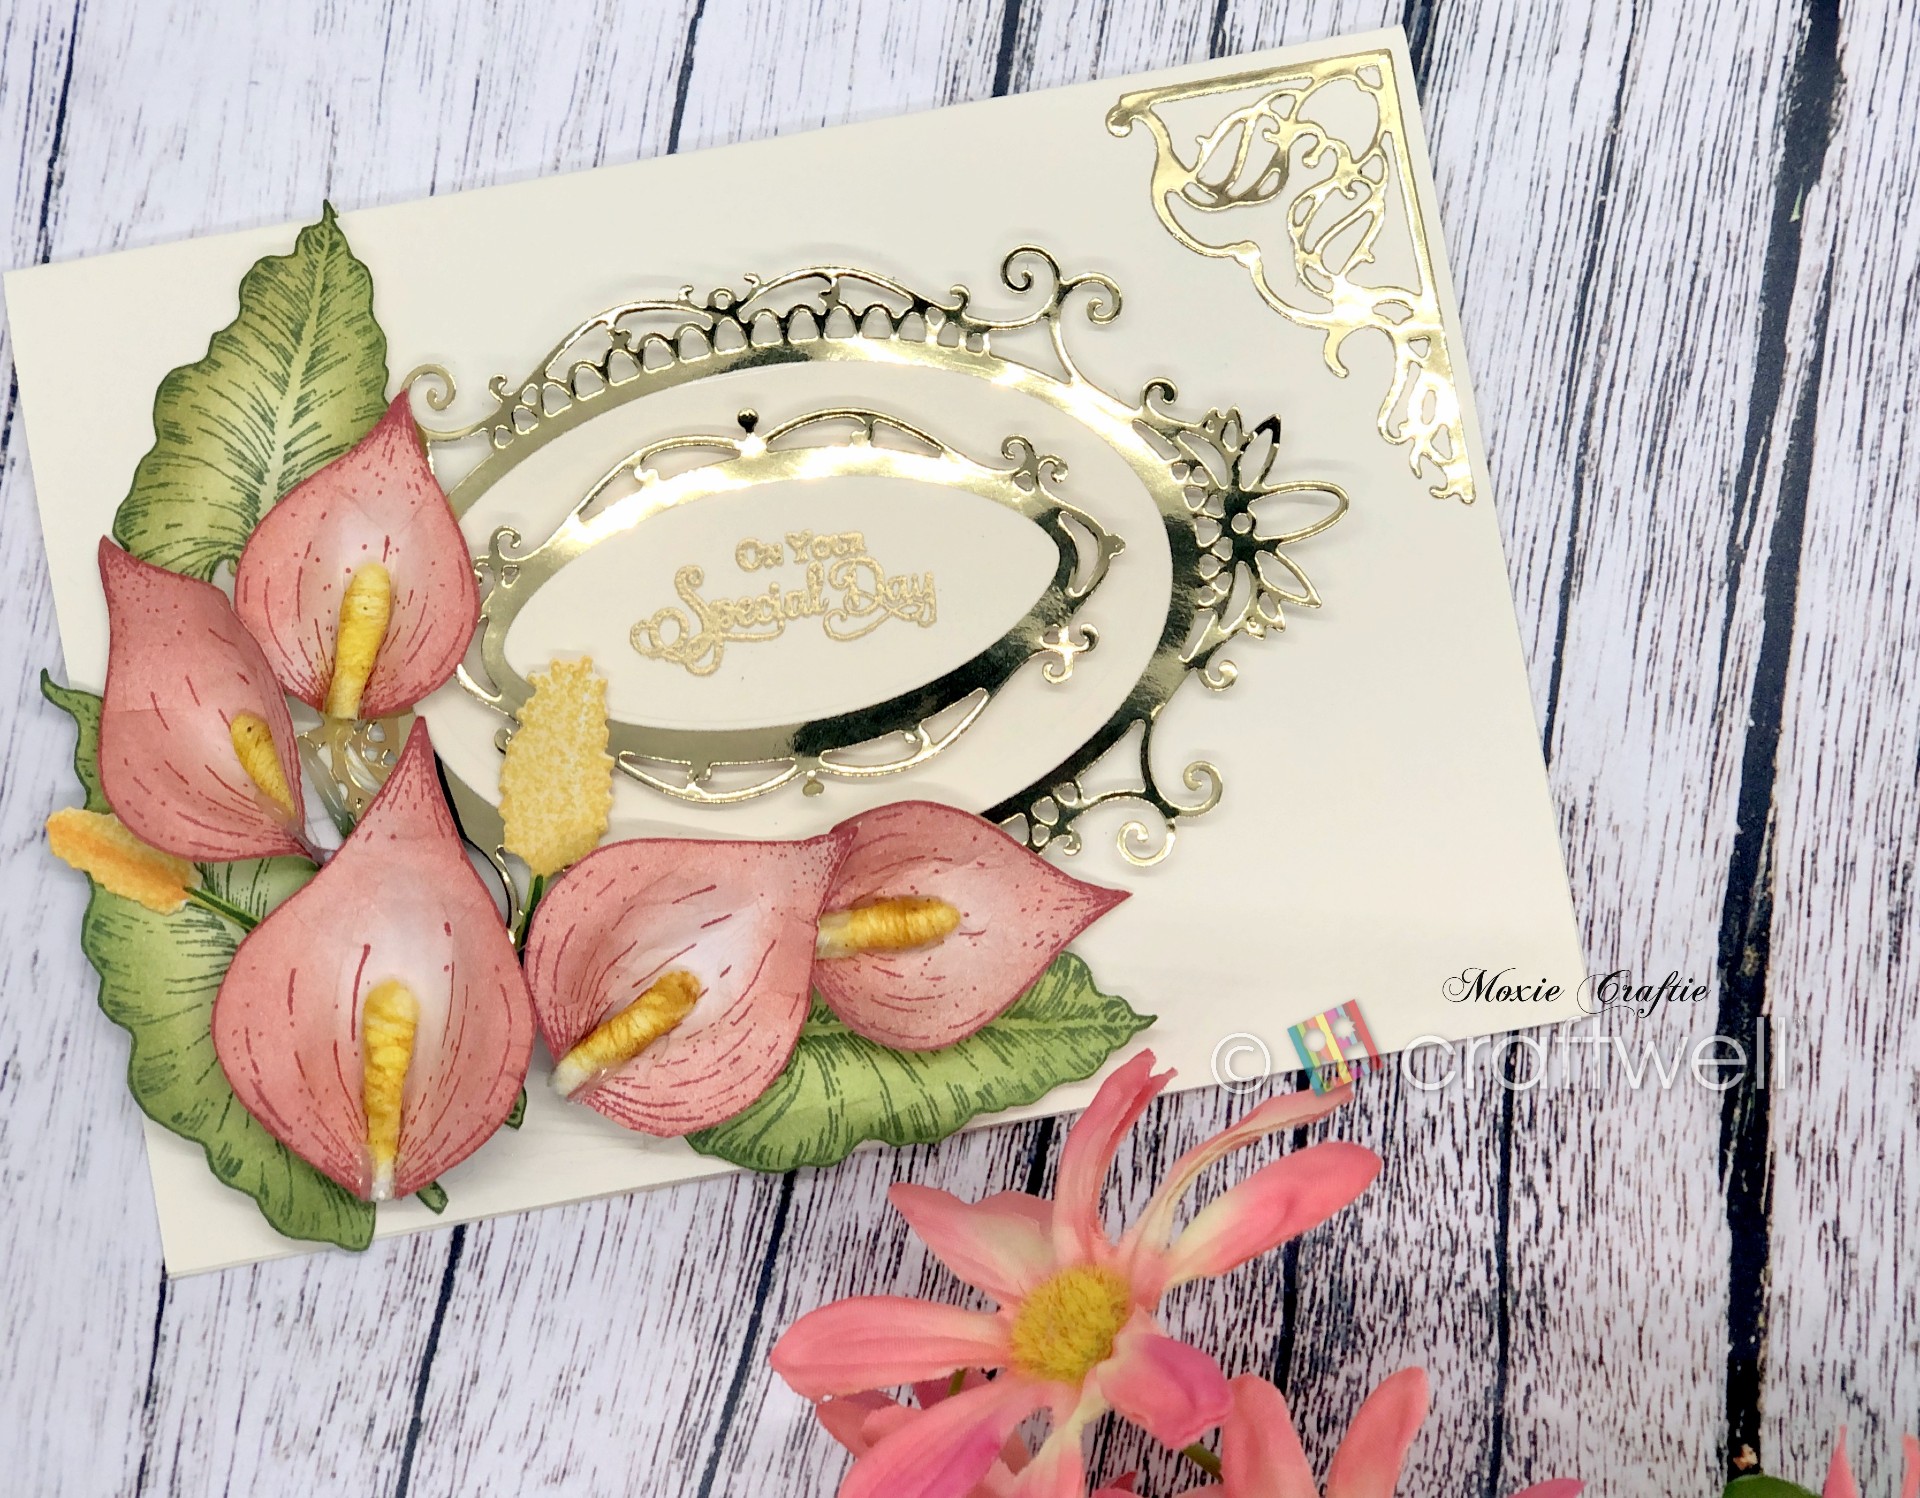
Hello everyone! I'm on the Craftwell blog today with a elegant floral card. 

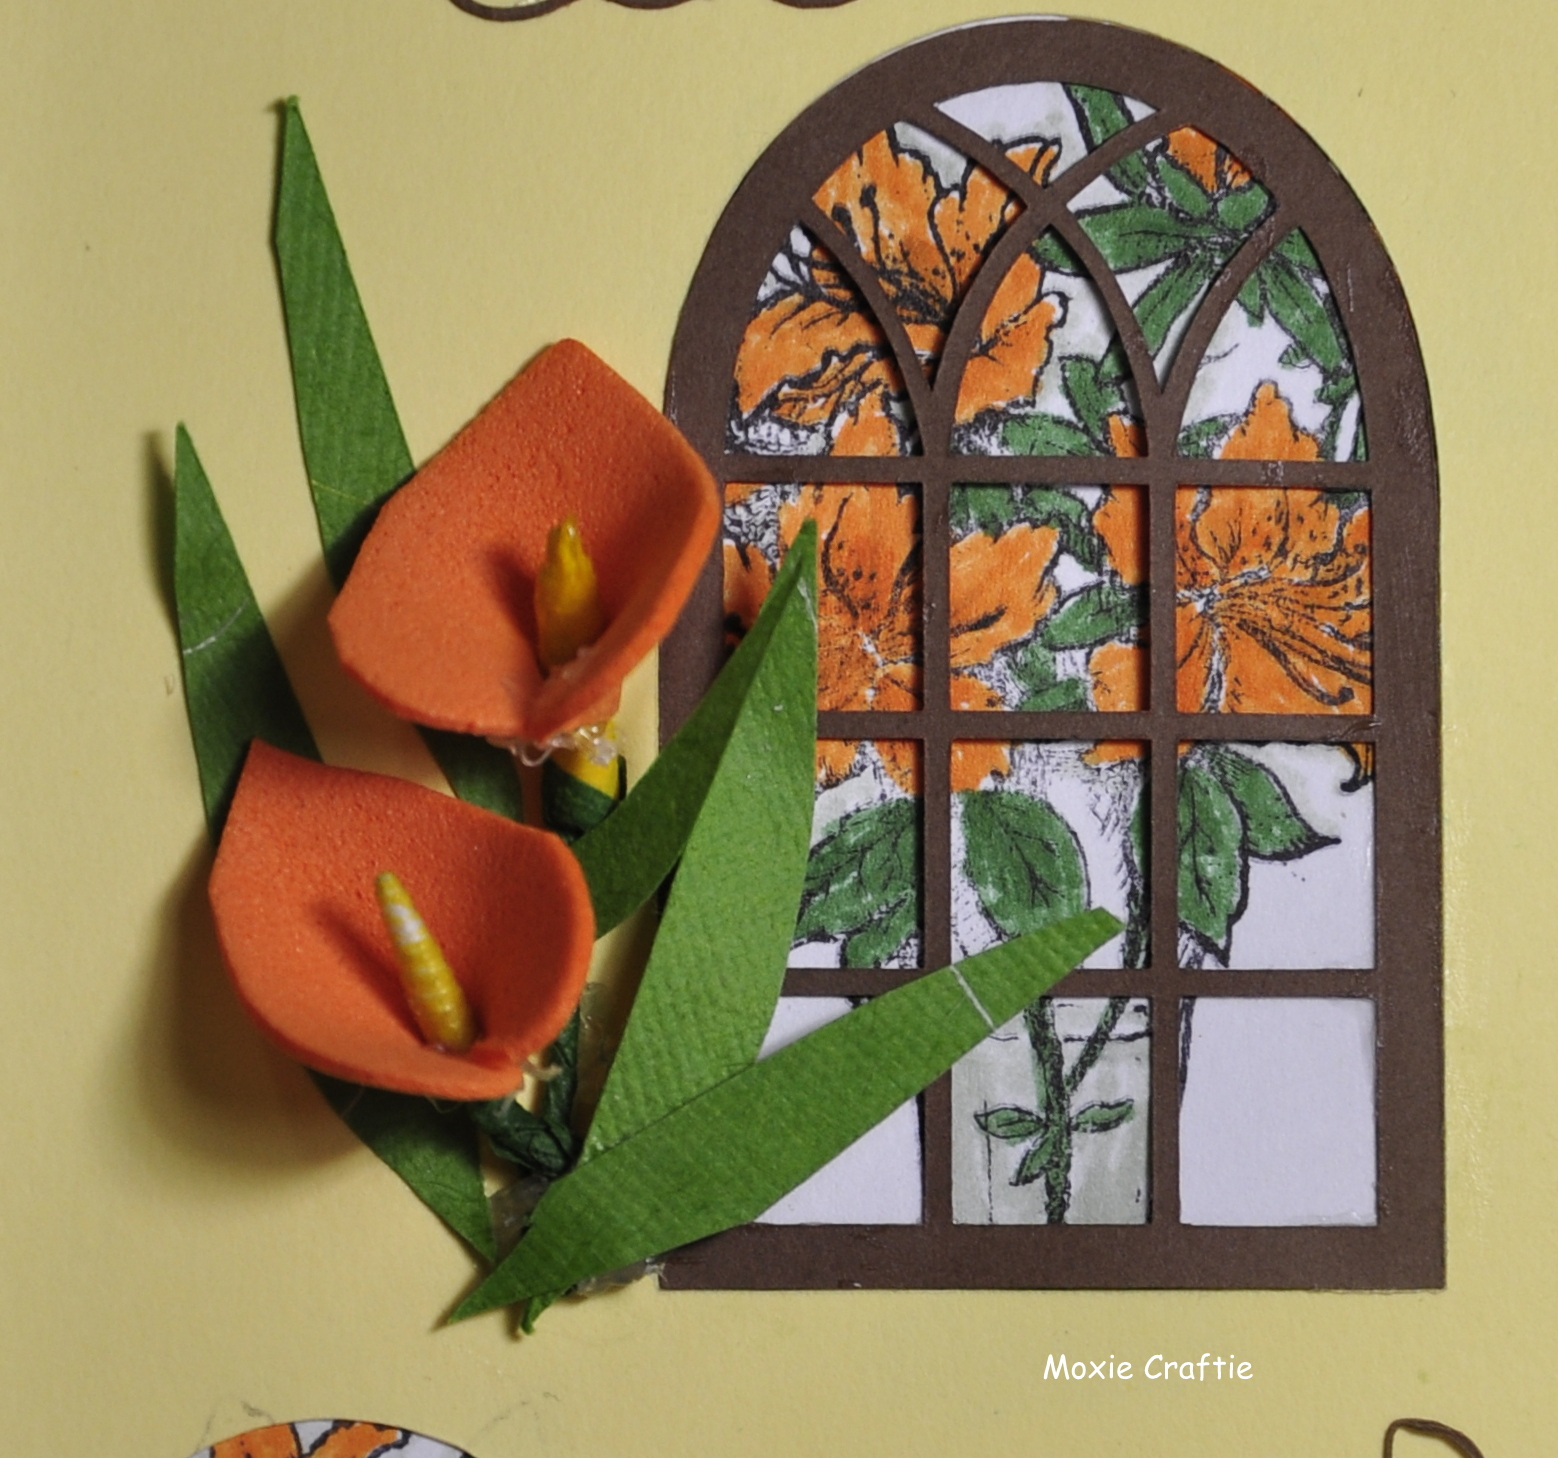
I love these Calla Lilies from Heartfelt Creations. I have had them for quite some time now. I stamped and die cut the flowers and leaves and colored them with inks. Then I used my flower shaping tools to give them some definition. I colored few Q tips with yellow ink for the center part of the calla lilies. To assemble them, I used hot glue gun. I also stamped and die cut some fillers from Heartfelt Creations - Tulip Vase & Fillers. For the card base, I used a 5x7 Ivory card base. I die cut few frames from the Heartfelt Creations - Royal Elegance Frames on gold card stock. The sentiment is from Just Rite stamps. This is one of my favorite sets for sentiments, mainly because of the font. I also die cut a few designs from Heartfelt Creations - Swirly Accent Spray and added them to the card.

How do you like my card today? Please do let me know. Thank you for stopping by. Have a great day!

Monday, May 24, 2021

Spring Birthday

 Hello everyone!! I'm on the Craftwell blog today, with a Spring birthday card.

I decided to use pastel colors for this Spring card. I've used a bunch of different dies on this one. The flowers were die cut using the Karen Burniston - Pop up Flower Pot die set. I shaped the flowers and added a pearl for the center of the flowers. For the leaves and flourishes, I used the Floral Flourishes die set from Spellbinders. For the sentiment panel, I used the Amazing Paper Grace - Sentimental Christmas die set. The sentiment is from Tubby Craft stamp set. The butterfly is from Crafter's Companion die set. I assembled all the die cuts on an ivory card stock. I think ivory looks better than white for this color scheme. 

Here's another pic of the card. What do you think? Let me know! Thanks for stopping by. Have a great day!

Submitting this to:

Tuesday, January 14, 2020

Wedding Congratulations

Hello everyone!! I'm on the Craftwell blog today, with a Congratulations card, that I made for a friend's wedding.


I started with a 5" x 7" ivory card base. I die cut the Double Heart Gatefold die on brown card stock twice. I then die cut a heart out of the same brown card stock and used it as a base for the wreath. I die cut the leaves using the dies from the Karen Burniston - Pop-up Flower pot die and the flowers from the Sizzix Small Tattered Florals die. I adhered the leaves and flowers and a few pearls along the edge of the heart die cut. I arranged everything on the ivory card base and adhered them. For the sentiment, I heat embossed the sentiment from the Brutus Monroe - Sharon's Script stamp set with Gilded Embossing powder on ivory card stock and adhered it down after curving it a little. 

How do you like my card today? Please do let me know in the comments below. Thank you for stopping by. Have a great day!!

Wednesday, February 20, 2019

Keepsake Box

Hello everyone!! I'm on the Craftwell blog today with this lovely keepsake box I made for my daughter Amelia.


I really loved how this box turned out. I will walk you through the steps!!
I love making flowers! So I started with that! I die cut the flower layers using the Spellbinders Shabby Posies dies on coral card stock. 


I cut out a few of the petals out of some of them and rolled it to create the buds.


I shaped the petals with the embossing tools and adhered the layers to create the flowers and added a pearl for the center.


Then I die cut out my daughter's name Amelia from 2 layers of white card stock and a layer of Scarlet Glitterstock using the Whimsy Stamps - Brushscript Upper Case Alphabets dies and Lower Case Alphabet dies. I adhered the layers using Brutus Monroe glue.


I repurposed a packaging box in which I got craft supplies ;) We all have those boxes right ;)


I adhered a gift wrap that I bought from Dollar Tree. I used mod podge to adhere it.


I cut out layers from a tan color card stock and Copper Glitterstock using the Spellbinders Nestabilities Majestic Labels. I also die cut a few leaves using the dies from Sizzix Small Tattered Florals and Spellbinders Fern die set on a green card stock. I also die cut a few flourishes using the Spellbinders Floral Flourish Dies on Clover Glitterstock. I punched out a butterfly out of the coral card stock using the Martha Stewart punch. I then arranged them all on top of the box to see how it fits. Once I liked the arrangement, I adhered them all on to the box. 


I then adhered my daughter's name on to the tan card stock panel with Brutus Monroe glue.
How do you like this box today? Please do let me know in the comments below. I used Craftwell Cut N Boss to cut all the die cuts. It really sped things up, as I have used a lot of dies in making this one, which is actually a first for me!! Thank you for stopping  by. Have a great day!

Supplies:

Affiliate links are used
Nestabilities Majestic Labels

SPB
Shabby Posies
Shabby Posies

SPB
Fern
Fern

SPB
Sizzix Thinlits Die Set 21PK - Small Tattered Florals

SZ
Cabbage - Cardstock - 100lb - Cover

BM
Glitterstock™ - Sampler Pack

BM
Color Companion - Glitterstock™ - Scarlet

BM
Color Companion - Glitterstock™ Rainbow Pack

BM
Color Companion - Glitterstock™ - Copper

BM
Color Companion - Glitterstock™ - Clover

BM
Glue
Glue

BM
Squeaky Clean Stamp Cleaner

BM
Squeaky Clean Stamp Scrubber

BM
Acrylic Block
Acrylic Block

BM
EK Tools® Small Precision Scissors - 5 inches

BM
Embossing Heat Tool
Embossing Heat Tool

BM
Clear T Square
Clear T Square

BM
Fold and Score Tool
Fold and Score Tool

BM
Mini Ink Blending Tool Kit

BM
Mini Ink Blending Tool Replacement Foams - 20 Pieces

BM
3D White Foam Squares • 1/2 in

BM | TW
Thermoweb - Purple Tape

BM | TW
Sticky Tape Mini Runner™

BM | TW
Masking Paper
Masking Paper

BM
Brutus Monroe - Foam Tape - 36 Yards - 108 Feet

BM
Fussy Cutting Scissors

BM


Tuesday, March 15, 2016

Happy Easter

Hello everyone!! It's time for mid of the month inspiration here at Where The HeART Is Challenge. Our current theme is Easter/Anything goes. Here's what I made to inspire you:


I stamped the Azaleas from Power Poppy Stamps and colored them in orange. I cut the card panel, the window and the sentiment on my Cricut. The window and sentiment cut files are from Images by Heather M.


I made the calla lilies using foam, following the tutorial by Dr Sonia. I love the look of them. Here's another card that I made recently with the same type of Calla Lilies. I hand-cut a few leaves from handmade paper.

Many of you may already know that Dr. Sonia is celebrating 5 million views of her blog. I'm linking this to her celebration post.

Thanks for stopping by. I love reading your comments.

Submitting this to:

Sunday, March 6, 2016

Congrats Bouquet

Hello everyone!! It's time for a new challenge here at the Unstampabelles. Our theme this month is 'Unlock Your Potential' with a twist to adding a key in your creation. You can create anything that shows unlocking someone's potential, congratulate someone who has done something great etc. The choice is yours. Here's what I've made to inspire you:


I used a beautiful paper that I had hoarded for years from the My Mind's Eye - Lost and Found - Blush, which I had got from Tracy's candy. I inked the edges with Pink Petunia chalk ink. I made some flowers which I cut out using a punch a a cut file on my Cricut. The swirly corner and the leaves were cut on my Cricut. I embossed the swirly corner with clear bark embossing powder from Stampendous.


The key is also cut on my Cricut. I designed the key on the Design Space using the circles and squares. I embossed it with Stampendous Clear Bark powder. The sentiment is hand written.

Do visit the Unstampabelles blog to see the lovely creations by the Susan and DT members. Susan has offered this lovely stencil and jewels as prize for the winner.


I hope you will give this a try and link up your creations.

Thanks for stopping by. I love reading your comments.

Submitting this to:


Sunday, November 22, 2015

Poinsettia And Pines

Hello everyone!! Here's another Christmas card that I  made recently. While making these cards, I realized that I love to make my own pattern papers using various stamps. You can see all my Christmas cards and projects by clicking on the tab above.

Here's my card:


I stamped the poinsettias (big and small) from Joanna Sheen's Make a Wish stamp set and the pine branches from the Inkadinkado Branches stamp set. I used my gold gel pen to add a few dots to fill in spaces. I used the Hero Arts Royal Red and Forever Green inks for stamping them. I really love this color combination on the ivory card stock. Then I cut it into two pieces - in a slanting line. I used two thin strips of card stock which I embossed with gold embossing powder, as a border. The sentiment is from Unity Stamps' Unto us stamp set. I embossed it with gold embossing powder. The poinsettia is handmade (similar to the one in my previous post). I used my flower punch to cut the layers. I used tiny green rhinestones for more interest.

This is one of the cards for Caring Hearts Card Drive.

Thanks for stopping by. Please let me know your thoughts and comments.

Submitting this to:


Poinsettia Bouquet

Hello everyone!! It's time for the final week inspiration at the Unstampabelles. Our theme this month is Anything Goes with a twist to add flowers.

Here's what I made to inspire you:


The poinsettias are handmade. I used my punches and colored them with markers. I also drew the veins (The red part of the poinsettias are actually leaves that change color and the yellow part in the center are the actual flower bunches). For the golden beads on the center, I used some microbeads that I bought from the nail art section of Dollar Tree. I The leaves are cut using the MS pine branch punch. I added pearls to look like berry sprays. I also made a bow from red sheer ribbon for a final finishing look to this bouquet. I use combs to help me with tying the bow.

Please visit the Unstampabelles blog for more inspiration. And please remember not to use any stamps!!

This is one of the cards for Caring Hearts Card Drive.

Thanks for stopping by. Please leave your thoughts and comments.

Submitting this to: