Showing posts with label gold. Show all posts

Tuesday, March 27, 2018

Mixed Media Canvas

Hello everyone! Today, we are having an amazing blog hop at Brutus Monroe. We have used Brutus Monroe products to create a mixed media project! How cool is that! I've always wanted to try mixed media, but never did till now. So here comes my first mixed media canvas:


I took my canvas that I had bought at Hobby Lobby and started by applying texture paste with the Mixed Media Stars stencil. Once it dried, I used a mini ink blender to apply Oz ink over the entire canvas, lighter towards the top right and darker towards the lower left. Then I stamped the hexagon shape from the Grunge Shapes stamp set with the Brutus Monroe Glue pad and added the Brutus Monroe powdered element in gilded!


Now, on to the flowers. I cut a bunch of flower shapes on Alabaster card stock and inked them with Rogue surface ink on the front and back.


Then I inked the center of the flowers with Phonebook surface ink.


I die cut a few leaves from a Karen Burniston die set and inked them with Cabbage surface ink.


Then I sprayed water on each of the flowers shapes, used my embossing tools to shape the petals. After shaping the petals, I glued the layer of petals using the Brutus Monroe glue. I then poked a hole in the center and threaded the pollen through it and added glossy accents to hold it in place.


I stamped the tiny circle from the Grunge Shapes and the jelly bean image from Sweet Pops stamp sets with the Oz and the Rock Candy surface inks, to add some textured look to the background. Then comes the fun part - arranging the flowers and leaves. I used foam tape to adhere some of the flowers. Then I mixed up some of the gilded powdered elements with water and splattered it on top of the flowers and the top part of the canvas. Well, this is the first time I'm doing this! Yes, it took a lot of courage to do that on the flowers!! Then I adhered the sentiment, which also, I bought from Hobby Lobby on clearance.


That's all from me today. Do visit the Brutus Monroe blog to start hopping from the beginning or here's the blog hop order:
Amy
Lori
Verity
Marie
Berina <-- You are here
Waleska
Thanks for stopping by. Have a great day!

Supplies (Affiliate Links)

Grunge Shapes
Grunge Shapes

BM
Sweet Pops
Sweet Pops

BM
Mini Surface Ink Pad Collection: Floral

BM
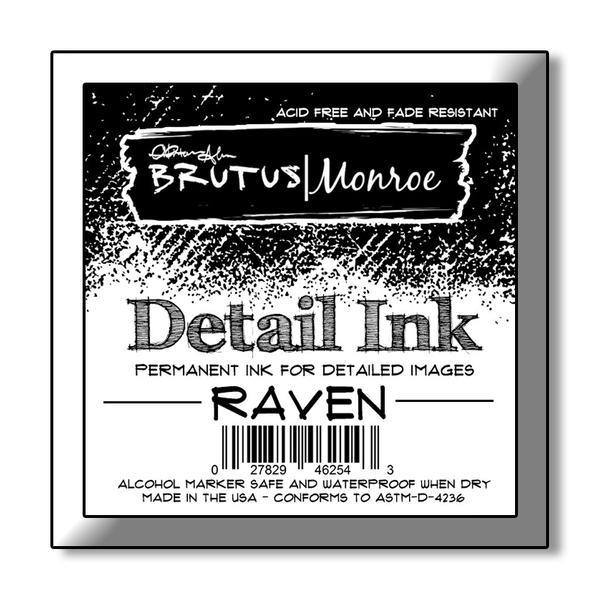
Raven Detail Ink
Raven Detail Ink

BM
Sticky Glue Pad
Sticky Glue Pad

BM
Mini Surface Ink Pad Collection: Spring

BM
Mini Surface Ink Pad Collection: Fall

BM

"Rock Candy" Mini Surface Ink Pad

BM

"Cabbage" Mini Surface Ink Pad

BM

"Oz" Mini Surface Ink Pad

BM

"Rouge" Mini Surface Ink Pad

BM

"Phonebook" Mini Surface Ink Pad

BM
Mixed Media Stencil - Stars

BM
Powdered Elements - Metals Collection

BM
Natural Elements Paper Pad

BM
Cardstock 1/2 sheets - 8.5x5.5 - (10pcs)

BM
Alabaster 110lb - Premium Cardstock

BM
Spooky Sentiments Cardstock Pack

BM
Kaleidoscope Cardstock Pack

BM
Glue
Glue

BM
Squeaky Clean Stamp Cleaner

BM
Squeaky Clean Stamp Scrubber

BM
Acrylic Block
Acrylic Block

BM
EK Tools® Small Precision Scissors - 5 inches

BM
Embossing Heat Tool
Embossing Heat Tool

BM
Clear T Square
Clear T Square

BM
Fold and Score Tool
Fold and Score Tool

BM
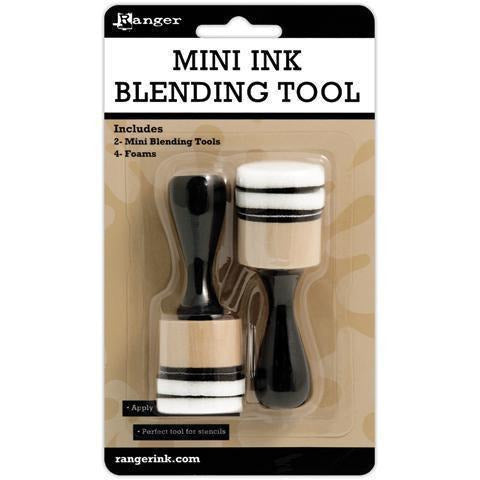
Mini Ink Blending Tool Kit

BM
Mini Ink Blending Tool Replacement Foams - 20 Pieces

BM
3D White Foam Squares • 1/2 in

BM
Thermoweb - Purple Tape

BM
Sticky Tape Mini Runner™

BM


Submitting this to:


Tuesday, November 14, 2017

Blessings To You

Hello everyone!! I'm sharing this beautiful card over on Kennedy Grace Creations blog


To see how I made this card, please visit my blog post on the Kennedy Grace Creations blog. We are using a beautiful moodboard for our inspiration this month. I love the bright and cheerful festive colors in this month's moodboard. In case you have not seen it yet, here it is:


Thank you so much for stopping by today. Hope you have a great day!

Friday, September 15, 2017

Spinning Ornament

Hello everyone!! Recently I saw a few cards with spinners. I've never made one of those before and the idea fascinated me. So I decided to make one and since I'm in the Christmas card mode, the ornament seemed like a perfect fit ;)


I started with the ornament. I gold embossed 2 ornaments from Joanna Sheen's Make a Wish (this is no longer available, but happens to be my favorite). I colored them by sponging Distress Ink Barn Door and Vintage Photo just around the edges. The embossing resists the ink. Now to make the window, I die cut a oval from my white card base and a kraft card stock. I took a piece of fishing line and sandwiched it between the ornaments - the back side of the ornaments facing each other with the thread in between them. I hope that makes sense. I adhered it on the card base, with the ornament in the middle of the window. On the kraft card stock, I gold embossed the design and sentiment from Penny Black - A Bright Tomorrow stamp set. Now I adhered it on to the card base by aligning the window. It was pretty easy to make, but is so beautiful with the interactive element.


Hope you will give this a try. Allison Cope had a detailed video tutorial on the Power Poppy Blog.

I will be sharing a Fall card tomorrow using the new freebie  from Inspired By Stamping newsletter, that will be in the newsletter tomorrow morning.

Thank you so much for stopping by. Hope you have a great weekend.

Submitting this to:

Save

Saturday, September 9, 2017

Simple Plaid Christmas Card

Hello everyone!! I'm here to share a simple plaid Christmas card that I made and I'm also sharing a video showing the process.


I created the plaid background using ruler and markers on red cardstock. The sentiment is from Inspired By Stamping Happy stamp set. The sentiment panel is cut with one of the dies from the Fancy Labels 2 die set. You can watch the video here of you can click here to watch it in HD.


Here's another view of the card.


Please do let me know your thoughts on the video. If you like it, please give a thumbs up and subscribe to my channel.

Just to remind you, I have a 15% off coupon to Inspired By Stamping  that can be used multiple times. Not valid on previous purchases or sale items.


Thanks for stopping by. Hope you have a great day.

Submitting this to:

Sunday, October 9, 2016

Peace & Happiness Ornaments

Hello everyone!! This is a quick post to share another card that I made yesterday.

Here's what I made:


I used 2 ornaments from the stencil Small Christmas Ornaments and covered it with embossing paste. I covered that paste with gold embossing powder and embossed it once the paste was dry. The sentiment and floral border stamps are from Unity Stamps' Our Hearts To Yours stamp set, which are also gold embossed.

Here's a pic of my craft table in action (read messy).


Thanks for stopping by. Hope you had a great weekend!

Submitting this to: